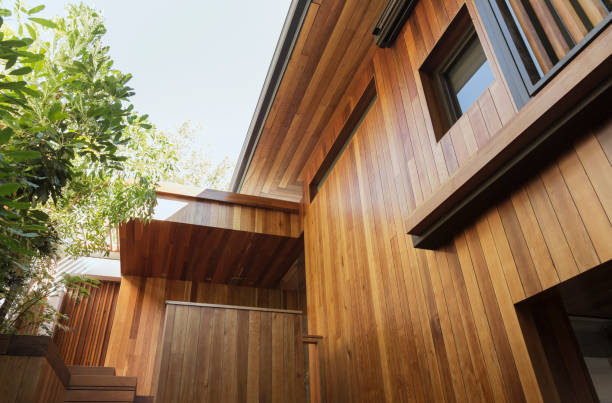
How to clean wood siding
Maintaining the charm of your home’s exterior is essential, and one of the best ways to achieve this is by keeping your wood siding clean. Over time, dirt, grime, and weather elements can take a toll on the appearance of your siding, eventually leaving it looking dull and tired. The good news is that cleaning wood siding doesn’t have to be a daunting task. With just a few simple steps and a bit of elbow grease, you can restore your siding to its former glory. In this article, we’ll walk you through a straightforward, four-step process that will leave your wood siding looking fresh and revitalized.
The Cleaning Procedures
When it comes to cleaning your wood siding, there are two essential methods to consider.
The first is deep cleaning, which is necessary when it’s time to refinish your siding with a clear coat or stain. The second is general cleaning, which is perfect for your annual Spring or Autumn touch-up, no matter the finish type.
For both approaches, we suggest that you pick a cloudy or mild day to prevent the cleaning solution from drying too quickly in the strong summer sun. If you want to make sure that your cleaning leaves an efficient effect, endeavor to clean the small, manageable sections of your siding.
Steps to Deep Clean your Wood Siding
For a thorough deep clean of your wood siding, you should consider getting a combination of oxygen bleach and oxalic acid. This method is ideal for preparing a cedar siding for refinishing, especially if your current finish is oil-based or a hybrid clear coat or stain.
Note that it won’t remove water-based finishes. Only a chemical stripper will remove this type of finish.
Step 1 – Remove Loose Surface Dirt from Wood Siding
To begin the deep cleaning process, start by eliminating loose surface dirt and debris from your wood siding. Use a garden hose with a good spray nozzle or a pump sprayer.
This step ensures that the cleaning solution can evenly coat the entire wood surface.
Step 2 – Apply Oxygen Bleach
Now that your wood siding is wet, it’s time to apply oxygen bleach. This remarkable solution works wonders. It helps to neutralize organic materials like algae, mold, and mildew, while also removing old, sun-damaged sealers or stains.
The beauty of oxygen bleach is that it’s safe for plants, humans, and animals, and it won’t alter the wood’s natural color.
When you’re picking out an oxygen bleach, consider one that’s highly potent. Try to look for one that doesn’t contain unnecessary filler ingredients.
After getting one, ensure to follow the package instructions for mixing the solution in a bucket or sprayer. If your wood is particularly dirty or covered in mold, mildew, or algae, consider increasing the amount of dry oxygen bleach by half or double.
This can save you from having to repeat the scrubbing process.
Begin by generously applying the solution to the wood siding, starting from the bottom and working your way to the top. At this point, you should be seeing a bubble-kind of reaction as the solution interacts with the wood.
While the solution is still wet, use a soft-bristled brush to scrub the cedar siding from top to bottom.
After scrubbing, allow the solution to set for 10-15 minutes, then rinse thoroughly. Make sure to completely rinse all the oxygen bleach away.
Step 3 – Apply Oxalic Acid
Now, while the wood is damp from the previous rinse, apply an oxalic acid solution. This step conditions your wood and ensures that the new finish adheres well.
Oxalic acid removes tough stains like rust, watermarks, and stubborn black mold that the oxygen bleach couldn’t tackle. It also helps restore the wood’s natural color by eliminating damage caused by UV weathering.
Mix the solution as per the package instructions, then apply from bottom to top using a sponge, mop, or paintbrush. Scrub top to bottom to avoid streaks.
Allow it to sit for 10-15 minutes, then rinse thoroughly until no white residue remains. You might need to repeat the process for heavily stained areas.
Step 4 – Finish by re-staining the cedar siding
In the fourth and final step, it’s time to refinish your cedar siding. Ensure the moisture content reaches 15% (use a moisture meter from a local hardware store to check).
Choose a stain that allows for easy future cleaning. So, you should try to avoid water-based stains that tend to demand more effort.
We recommend the use of oil-based wood stains. Most of them are easily cleanable with eco-friendly wood cleaners.
Always consult the manufacturer for recommended cleanup procedures.
If your siding is the vertical type, start at the top and work down without overlapping. Meanwhile, for horizontal siding, begin at the top corner and move across to prevent drips and streaks.
General Cleaning Instructions
Yearly maintenance is crucial for preserving your wood siding’s appearance. A general cleaning will rid your siding of dirt and grime as it revitalizes its freshness without affecting the finish.
Note that airborne debris and environmental factors can gradually deteriorate the siding’s finish. To combat this, use a diluted solution of oxygen bleach – typically half of what’s recommended on the product label.
Start by rinsing off loose surface dirt with a garden hose or pump sprayer. Then, while the wood is still wet, generously apply the weakened oxygen bleach solution from bottom to top.
Follow up with a top-to-bottom rinse to avoid streaks. Typically, scrubbing isn’t necessary during a general cleaning.
Rinse thoroughly, and for any lingering black spots, you can apply a slightly stronger oxygen bleach solution.
Conclusion
Whether it’s a deep clean or a general refresh, the right care can make a world of difference.
To explore top-quality products and expert guidance for your wood siding needs, visit LonghouseCedar. Our expertise and high-quality offerings will help you keep your siding in impeccable condition for years to come.
